
Spider Queen Halloween Makeup
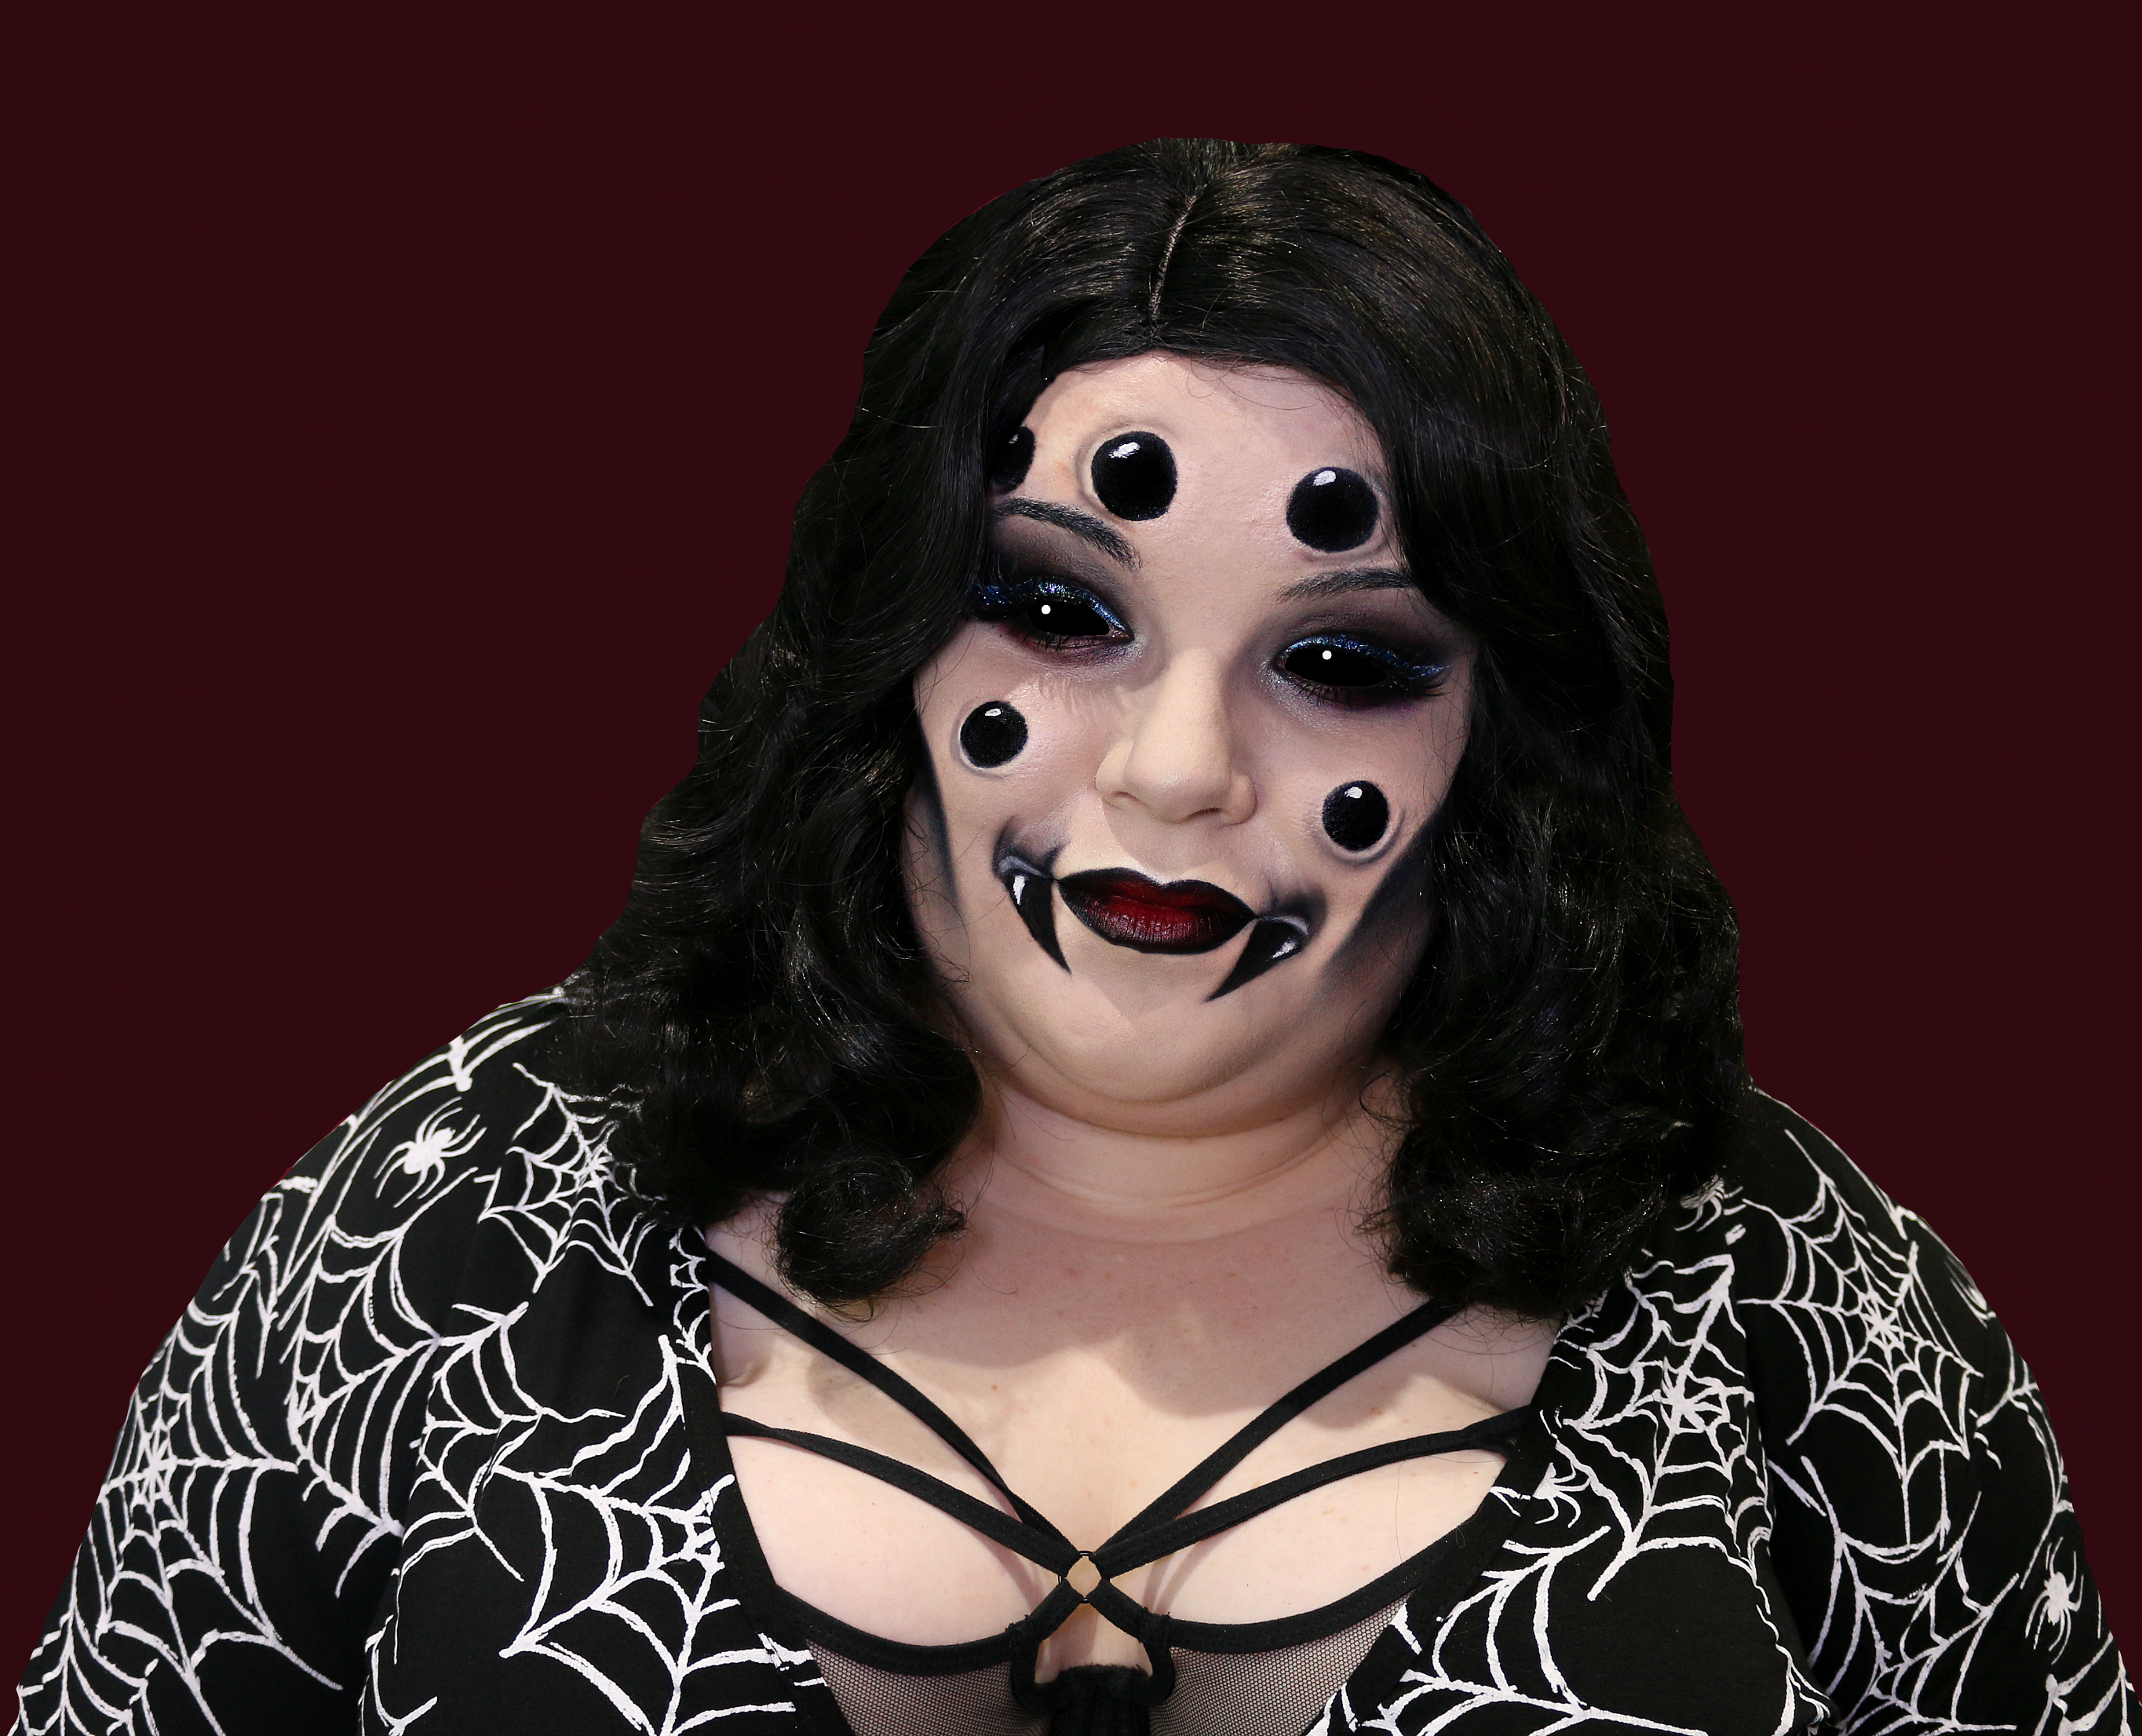
I’m really happy that I managed to create 5 looks this year, after not being able to do any last year. It’s actually been quite relaxing for me to sit and play with makeup, it’s reminded me how much I love painting my face. In case you haven’t seen them all this year I’ve created an Autumn Witch, Vemon, Creepy Clown, Patient Z and finally, Spider Queen. Personally, I think my Spider Queen is definitely this years best! I researched a few looks on Google and I absolutely loved this video by RawBeautyKristi, so I took some elements of that and then made it suit my face shape more.

Step 1: Base
I pretty much used a normal foundation base using Huda Beauty Faux Filter Foundation and left it wet so that I could easily blend on top of it.
Step 2: Cheekbones
Using a gel liner and a flat-edged brush, I carved out my cheekbones and then proceeded to blend downwards to create a very chiselled look.
Step 3: My Eyes
I then moved on to create a black smokey eye using a Revolution Beauty, any good black eyeshadow would work well for this. I then took it onto my bottom lash line, before adding a touch of purple and red, to make my eyes look a little sore and evil.
For my liner, I am using the world’s first biodegradable cosmetic glitter from Bioglitter. How exciting is that? It’s been made to help the issue of plastic pollution and of course, it works as well as any other glitter I’ve ever used. They have some for decorating clothes and crafting too.
I simply applied this on top of white pomade from Kat Von D to make it stand out more. I used the Glitter Base from Lit Cosmetics to make it stick.
For lashes, I’m using the Pinky Goat Arwa Lashes, and for my brows, I build up the white pomade from Kat Von D before adding a black mascara to thicken them up.
Step 4: Spider Eyes
This was shocking so much easier than I first thought, I simply got out my Kat Von D Black Gel Liner, put some on the back of my hand and worked it down until it was even, and then stamped the end of a circular beauty product into it, before stamping the circle onto my face. I used a contour stick and lipstick to get the different sizes and then simply fill in any gaps.
For the highlight, I used a MAC Acrylic Paint in White. It dries super fast and shows up on top of black. Another way to do this is to keep a spot blank and then add a white product/paint/liner/pomade. Or use a cotton bud and makeup remover to create a highlight spot in the black.
Step 5: Shading
After everything else was done, I think started to shade around the spider eyes using a tiny bit of black eyeshadow and blending it completely out, before repeating and leaving the line a little less blended every time.
Step 6: Spider Fangs
Start by carving out the shape, with the foundation still being wet, you can simply erase any mistakes at this point until you get the right shape. Add a highlight of white to the top of the fang where the skin would be, and then a highlight to the actual fang, before filling the rest in with black.
Step 7: Lips
I used my OCC in NSFW (a bright red) combined with the black gel liner to create this look. The OCC is usually matte but it didn’t dry as fast here so it looks shiny. Either way works!
Step 8: Powder
Set everything carefully with your favourite powder and you’re done!
I’m wearing a web print body that I bought from Boohoo Plus last year and using the Dita wig from Annabelle’s Wigs, and I finished off the look with the INCREDIBLE Elomi Sachi Bra from Bra Stop. Non-spider photos of it coming soon! I wanted to edit my actual eyes to match, but you could also get this look from using black contacts, just be careful!
What do you think of my Spider Queen Halloween Makeup? Do you agree that it’s my best one from this year?
