
How to Film And Edit Makeup Video Tutorials: A Friendly Guide
If you’ve ever watched a makeup tutorial and thought, “Honestly… I could totally do that,” you’re not wrong. These days, beauty lovers aren’t just scrolling through content — they’re creating it. And makeup videos? They’re one of the most fun, expressive, creativity-boosting niches out there.
The best part? You don’t need a studio full of ring lights or a team running around behind the camera. With a little planning, a few simple filming tricks, and an easy editing tool like Clipify to tidy things up, you can create tutorials that feel polished, personal, and genuinely helpful.
Let’s break the process down step by step so you can turn ideas into videos people will actually want to watch.
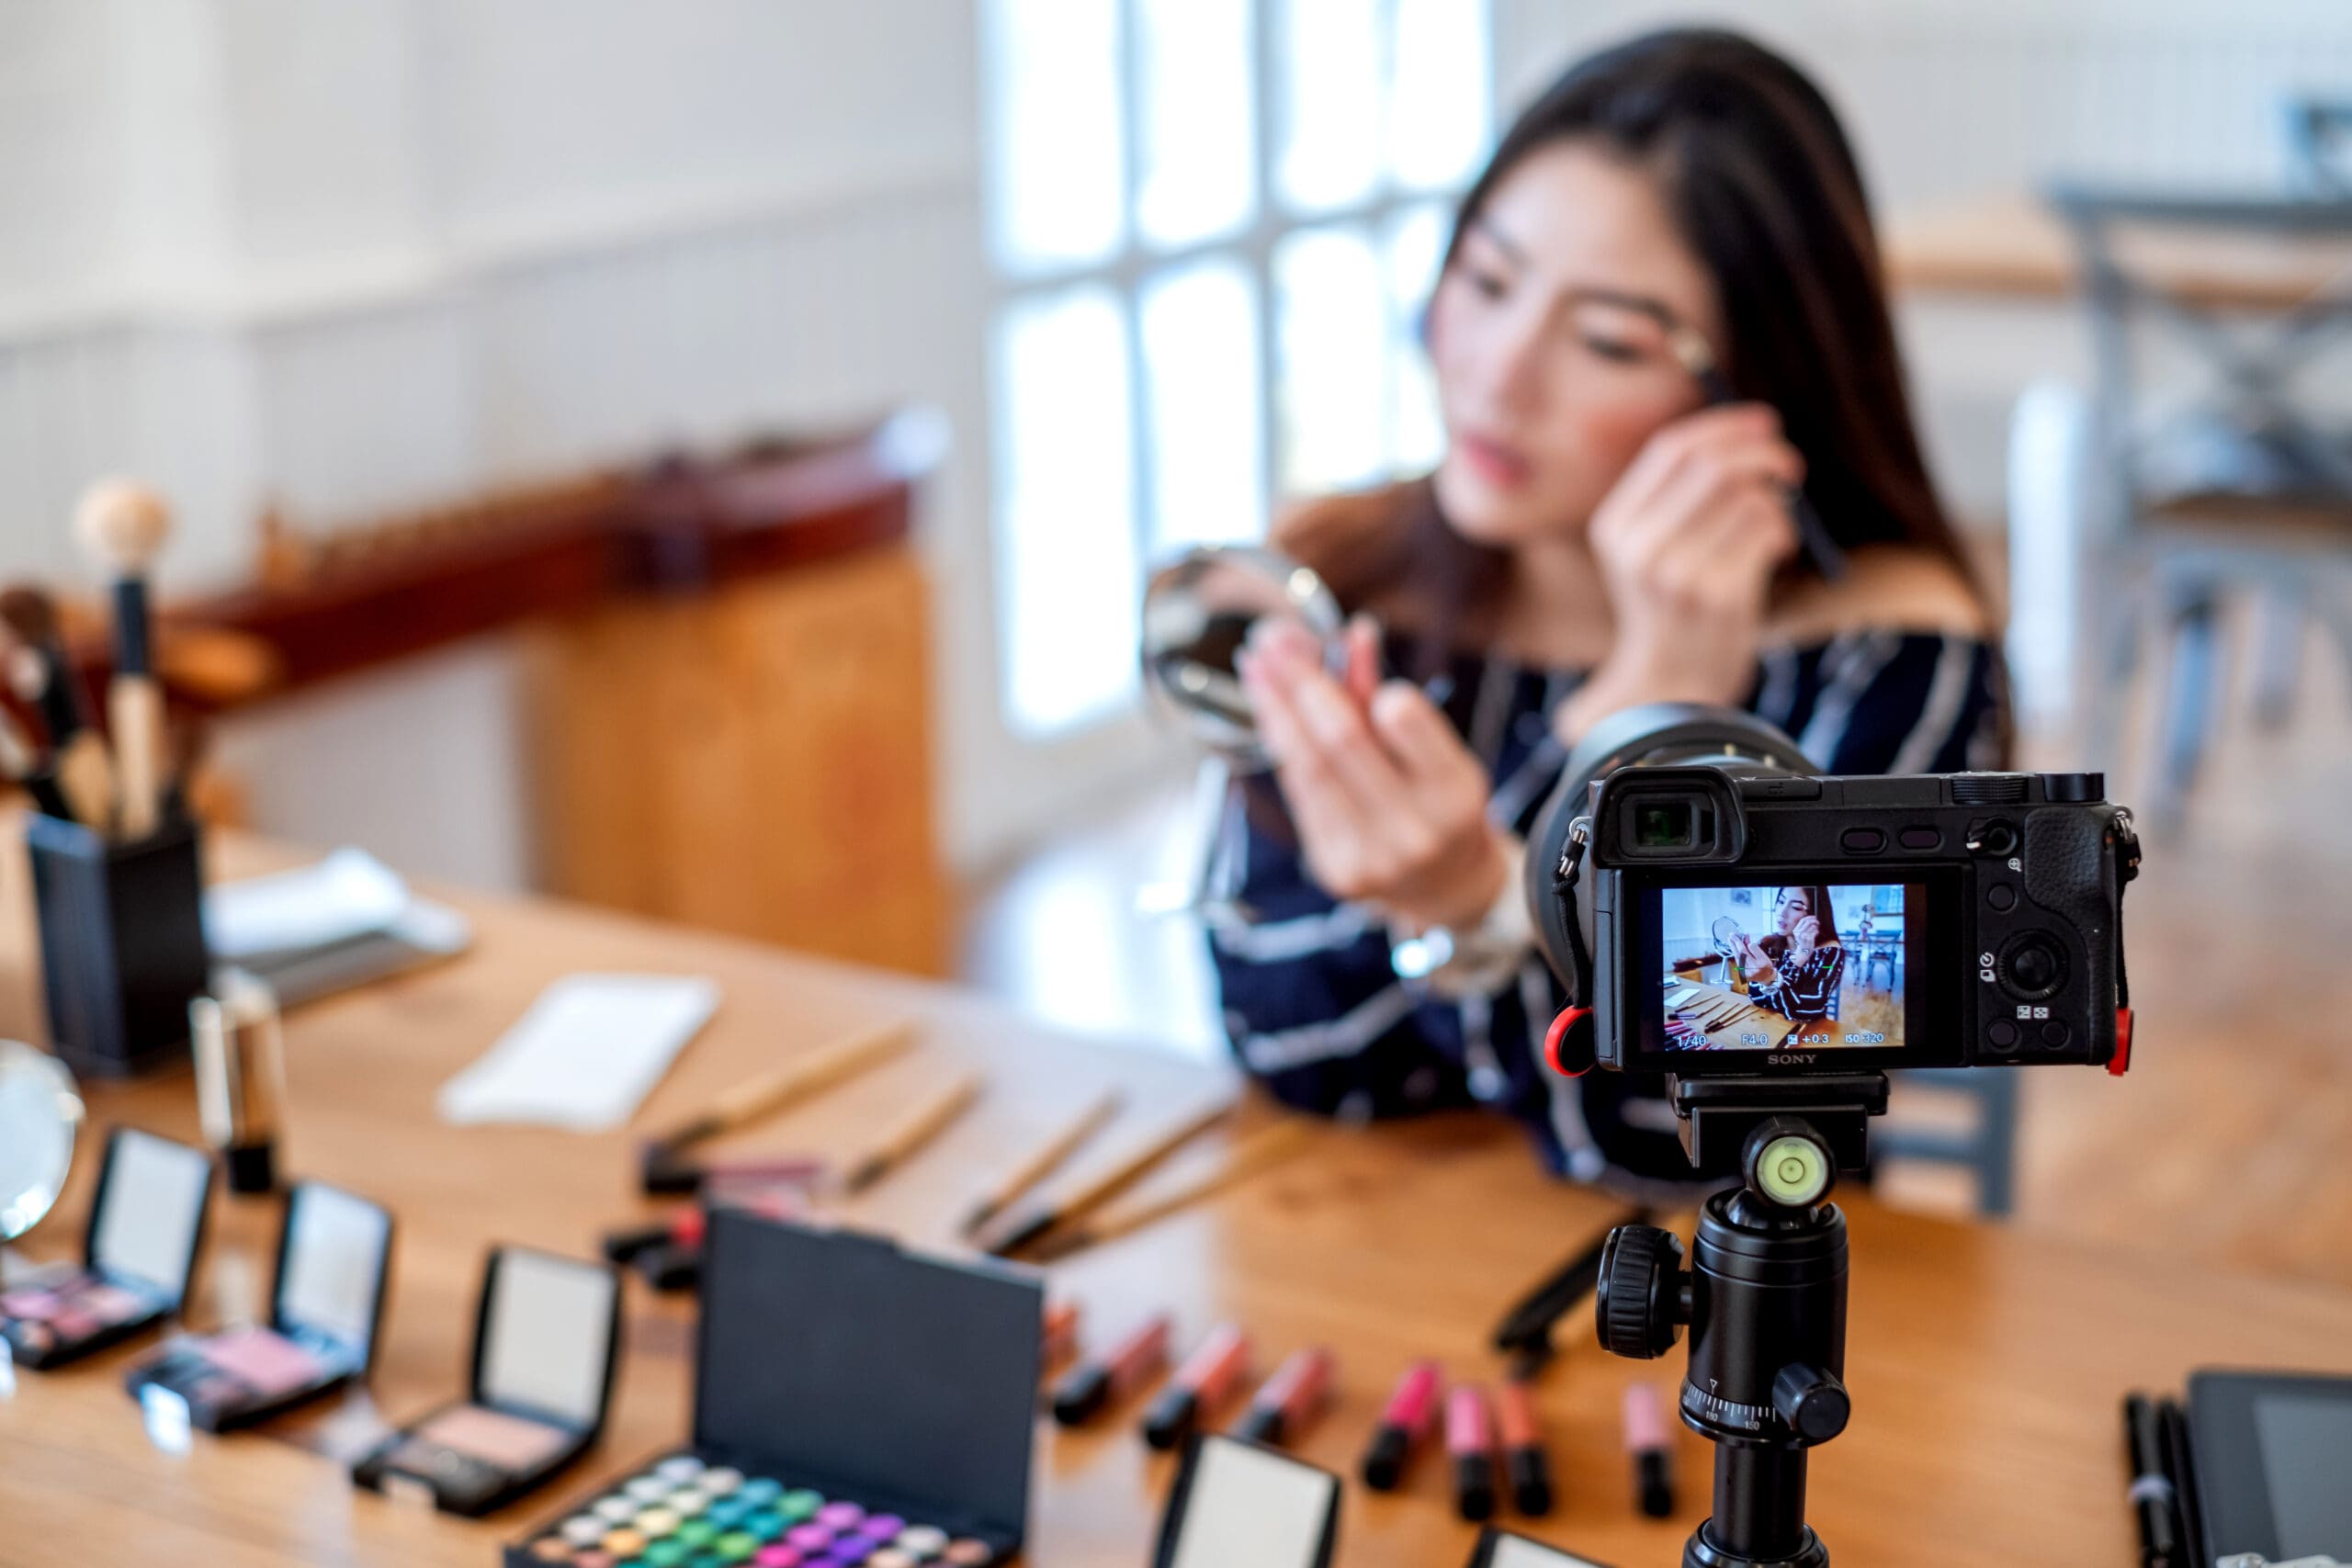
Start With a Plan: What Kind of Makeup Tutorial Are You Making?
Before the brushes come out — and before you hit “record” — pause for a moment.
What story are you trying to tell?
Makeup tutorials aren’t just product demonstrations. There’s usually a vibe, a mood, or a little problem you’re helping someone solve. Are you teaching beginners how to contour? Showing off a bold festival look? Sharing your “I woke up late but still need to look alive” routine?
A few directions you can take:
- Everyday makeup: fast, simple routines
- Glam looks: metallic lids, bold lips, dramatic lashes
- Seasonal or themed styles: autumn browns, Valentine’s pinks, Halloween special effects
- Techniques: winged liner close-ups, blending 101, brow mapping
- Beginner series: what brush does what, affordable starter kits
- Reviews: full face using one brand, first impressions
Write down your steps, your product list, and two or three key points viewers should remember. It doesn’t have to be fancy — even a sticky note works. A bit of structure now saves a lot of frustration later.
Gather Your Equipment (You Don’t Need Fancy Gear, Promise)
Many beginners assume beauty creators have expensive DSLR setups. But the truth? A huge number of successful tutorials are filmed on a smartphone. Lighting matters more than the camera itself.
Here’s all you really need:
- A decent camera (your phone is fine!)
Set the resolution to 1080p or 4K if possible. - A tripod
Even a cheap table tripod keeps everything stable so the viewer isn’t bouncing around with you. - Good lighting
Makeup depends on colour accuracy, so aim for:
- a ring light
- a softbox
- or even a window with bright, even daylight
Face the light directly — side lighting creates shadows that distort colours.
- A clean background
A plain wall, tidy desk setup, or simple decorative corner keeps the focus on your face. - A microphone (optional but helpful)
People will forgive slightly grainy video before they forgive poor audio. A tiny lapel mic makes a big difference if you narrate.
Filming Tips to Make Your Video Look Pro (Without Feeling Overwhelmed)
Even with minimal gear, you can instantly level up your footage with a few easy habits:
- Get close for detail shots
Eyeliner, mascara, inner corners — viewers need to see the process. - Move slowly and intentionally
Fast motions blur on camera. Plus, calm movements make your video feel more polished. - Show your products clearly
Hold them up, mention the shade, maybe do a quick swatch. It builds trust. - Film in sections
Record your base, then your eyes, then lips, then reveal. Editing becomes way smoother. - Check your footage as you go
Nothing hurts like doing a full glam look only to realise your camera was focused on the back wall. - Let your personality show
Laugh at yourself. Say “oops” when you drop a brush. Viewers connect with real people, not perfect robots.
Editing Your Makeup Videos in Clipify (Beginner-Friendly & Surprisingly Fun)
Editing is where your tutorial transforms from raw clips into a smooth, enjoyable video. Clipify keeps things simple — great news if editing isn’t your favourite part.
Here’s a quick workflow:
Step 1: Import Your Clips
Drag everything into Clipify’s timeline and place scenes in order.
Step 2: Trim the clutter
Cut out:
- long pauses
- mistakes
- rummaging for products
awkward silence
Short, crisp pacing keeps viewers watching.
Step 3: Adjust speed
Blend your foundation for 30 seconds if you want — the viewer doesn’t need all 30. Speeding up repetitive motions keeps things dynamic.
Step 4: Add on-screen text
Helpful for:
- product names
- shade details
- brush numbers
- quick tips (“blend upward for a lifted look”)
It makes your video clearer and more professional.
Step 5: Enhance colours
Sometimes cameras dull your makeup. Clipify lets you tweak brightness, contrast, and warmth so your tutorial looks true to life.
Step 6: Add music if you like
Soft, non-distracting tracks work best behind silent demos or voice-over tutorials. You’ll find hundreds of royalty free music tracks inside Clipify. So you won’t have any copyright related problems while sharing your videos on YouTube.
Step 7: Export for your platform
- Instagram → 1080×1920 vertical
- YouTube → 1920×1080 horizontal
- TikTok → 1080×1920 vertical
Clipify has presets, so no need to fight with technical settings.
Bonus Tips for Truly Professional-Looking Results
- Create a simple brand identity — consistent intro, colours, or fonts.
- Keep your workspace tidy between steps.
- Shoot a slow, satisfying final reveal.
- Ask viewers what looks they want next — engagement matters more than perfect blending.
Extra Ideas to Make Your Tutorials Stand Out
Show “real life” versions of the look
People love seeing how makeup wears after a few hours. Film quick check-ins later in the day:
- Does the foundation hold up?
- Does the lipstick fade gracefully or disappear entirely?
- Did the eyeshadow crease?
These honest mini-updates make viewers trust you — and they add a storytelling element many creators skip.
Create short “micro lessons” inside your main tutorial
Not every tip needs its own video. You can add tiny educational moments right inside your tutorial:
- how to clean a blending sponge
- how to fix mascara smudges without removing makeup
- what to do when your foundation looks cakey
- quick brush alternatives for beginners on a budget
These little nuggets of value set your content apart and keep people watching longer.
Conclusion: You Don’t Need a Studio to Make Stunning Makeup Videos
The beauty of makeup tutorials is that you don’t need fancy equipment or editing expertise. What matters is your perspective, your creativity, and your willingness to hit “record” even if you feel a little shy at first.
With a bit of planning, some gentle filming tricks, and an easy-to-learn editor like Clipify, you can create makeup videos that feel polished, helpful, and undeniably you.
So pick your palette, set up your light, and give it a try. Your first tutorial might be the start of a very fun journey — one brushstroke at a time.
